9 Situations Where You Need a Buyers Agent in Sydney
Are they buying in a suburb they do not know well? They often misread micro-markets, school zones, flood overlays, traffic noise, and future development impacts. […]
Are they buying in a suburb they do not know well? They often misread micro-markets, school zones, flood overlays, traffic noise, and future development impacts. […]

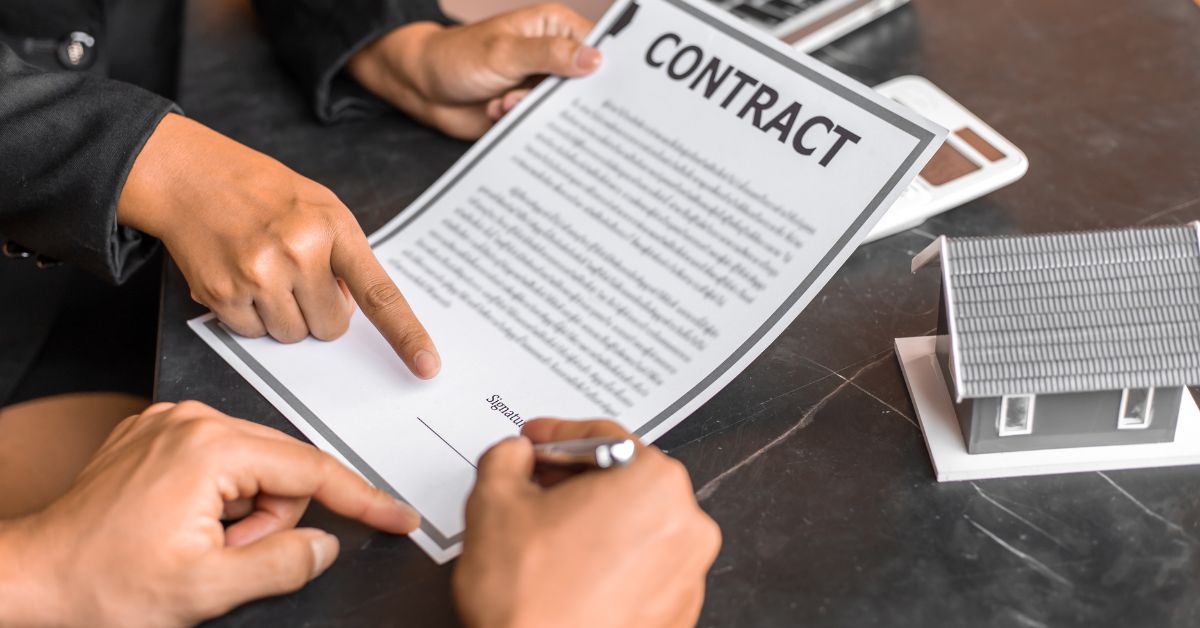
A buyers agent helps level that playing field. They search, assess, and negotiate on the buyer’s behalf, with a focus on securing the right property […]
The Australian property landscape has reached a pivotal “new normal” in 2026. With the cash rate stabilizing at 3.85% and capital growth moderating, the “buy […]
How do WA regulations influence buyers working with a Perth conveyancer? Western Australia’s unique property laws create a complex regulatory environment that directly impacts every […]

What is Conveyancing and Why is it Important in Brisbane’s Competitive Property Market? Conveyancing is the legal process of transferring property ownership from seller to […]
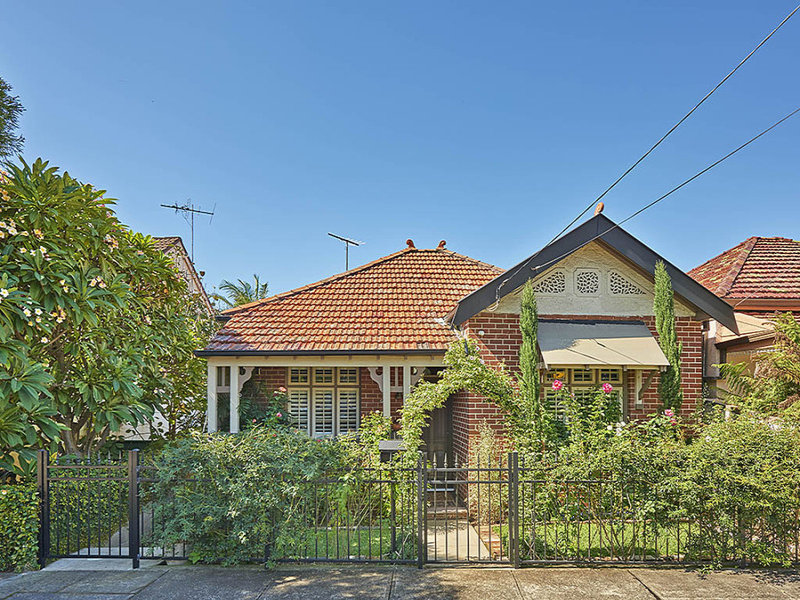
Why Should You Consider Hiring a Sydney Buyers Agent? Buying property in Sydney requires careful planning, and hiring a buyers agent is one of the […]

What Makes the Eastern Suburbs Property Market Unique? The Eastern Suburbs property market is one of Sydney’s most prestigious and competitive real estate areas. This […]
Property investing is often seen as something only high-income earners can afford. In reality, many Australians begin their property investment journey with limited savings by […]
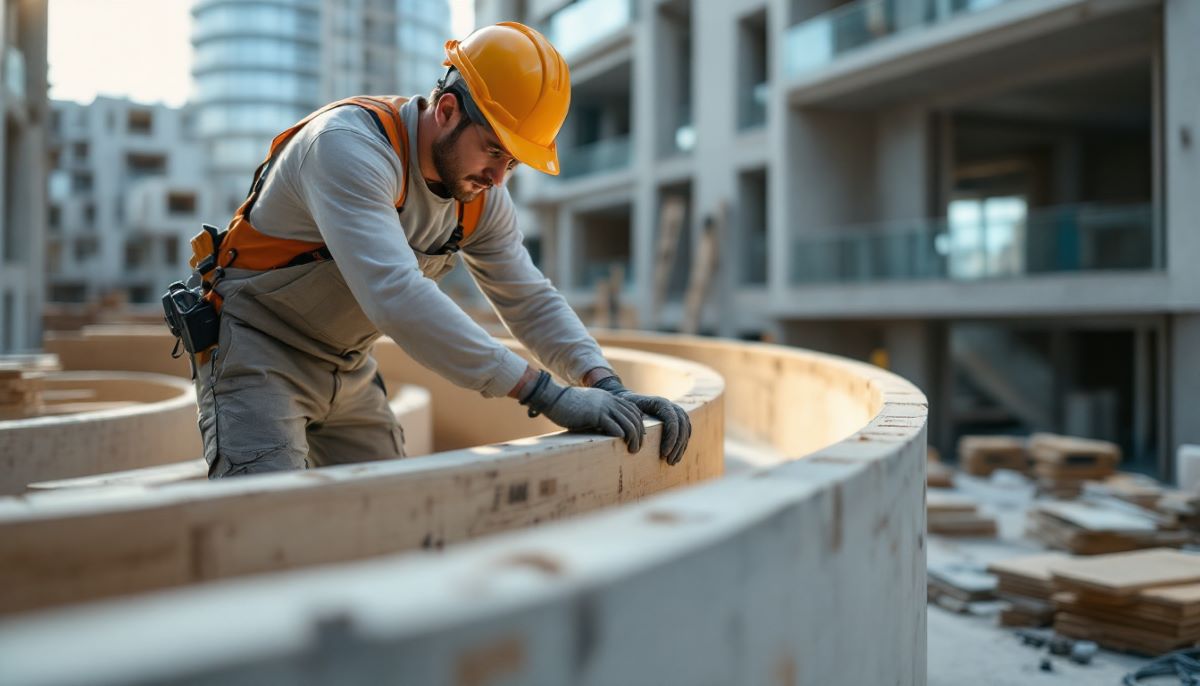
What Is Formply and How Is It Manufactured? What exactly is Formply? Formply is a specialized high-density plywood engineered specifically for concrete formwork applications in […]

What is F14 Grade Plywood and Why Do Builders Prefer It for Structural Projects? F14 grade plywood is a high-performance engineered wood product manufactured from […]